Installing a Low-Slope EPDM Roof
Done with care, a flat roof can provide 20 years of leak-free service.
Synopsis: Flat roofs are difficult to install properly, and as a result, many don’t last for anything close to the life span they’re capable of achieving. In this article, roofing specialist Dyami Plotke describes his process for getting the details right so that a low-slope EPDM roof can last for 20 years or longer of leak-free service. Plotke begins by making sure he’s working on a stable substrate, such as high-density gypsum board. He also lines up an assortment of appropriate sealants—urethane, water-block mastic, and lap caulk—and uses them in the correct locations. Seams between sheets of EPDM should be connected with a special 6-in.-wide seam tape; avoid the urge to use splice cement, which is seldom applied correctly and often fails prematurely. Pieces of edge metal, such as gravel stop and drip edge, are sealed in place. Also, sidewalls are a critical joint that requires counterflashing. If the roof has any pipe penetrations, they can be managed with boots, preformed pipe seals made from molded EPDM.
Editor’s note: If you want to learn how to build a deck on top of a flat roof, read the article Decking Over a Roof
Although we do a fair amount of residential roofing, my family’s bread-and-butter business is installing low-slope commercial roofing. A properly installed commercial roof can last for 20 or even 30 years. Unfortunately, many residential roofers are poorly trained in low-slope roofing techniques, so their flat roofs may last only half as long. When our company does residential low-slope roofing, we use commercial methods and materials, so our residential flat roofs last a long time with minimal maintenance.

The small sunroom on this 1930s stucco house is typical of what we find when we replace a residential flat roof. This old roof was hot-mopped asphalt, a once-reliable roofing system that is disappearing rapidly because of asphalt’s high price and diminishing quality. Nowadays for this type of roof, we use an ethylene propylene diene monomer (EPDM) membrane, which is the most UV-stable and therefore longest lasting low-slope roof.
Gypsum is a stable substrate
|

|
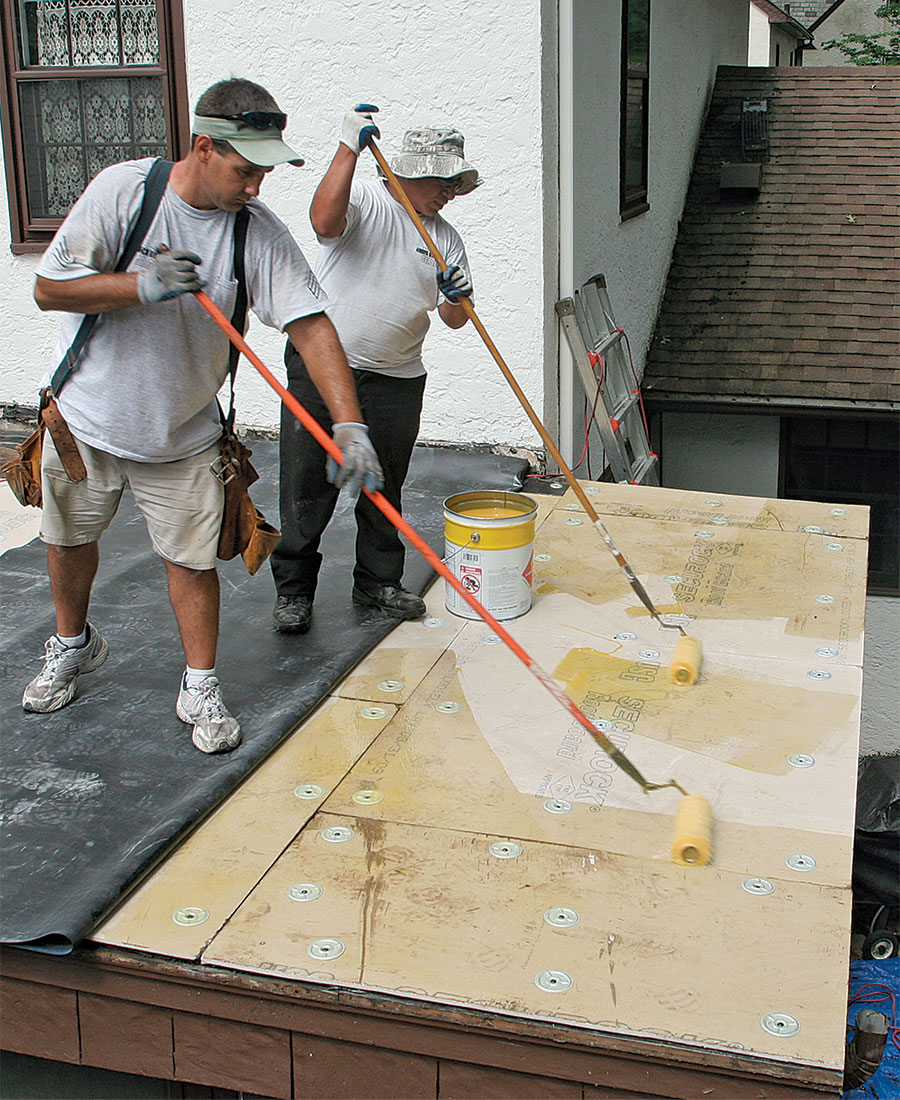

| 1. Spread the adhesive. EPDM is glued down using a special adhesive similar to contact cement. It’s rolled onto both the gypsum sheathing and the back of the EPDM membrane. When the solvents have flashed off (20 min. to 40 min. in warm weather) and the adhesive is tacky, the EPDM is laid in, and the surface is swept with a broom to ensure that it’s fully adhered. | 2. Control expansion and contraction. Every roof membrane expands and contracts, which eventually causes it to pull away from the base of walls and other vertical transitions. This movement, called bridging, is prevented with a membrane-attachment strip. It’s made of 45-mil reinforced EPDM with a factory-applied tape and is secured every 12 in. with roofing screws driven through 2-in. plate washers. |
| Sealants aren’t universal
Having a leak-free, long-lasting low-slope roof depends on using the right sealants in the right locations. |
 |
 |
 |
| Urethane sealant: The top edges of termination bars and metal flashing pieces are sealed with high-quality urethane sealant. Unlike other commercial roof sealants, urethane is available in many colors to match almost any siding or metal-flashing color. | Water-block mastic: In locations where water is likely to get beneath the EPDM membrane, non-curing, butyl-based water-block mastic prevents intrusion, but it works only in combination with pressure exerted by drip edge, gravel stop, or metal flashing. | Lap caulk: Cut edges of flashing tape and the line between edge metal and flashing should be wiped clean with weathered membrane cleaner and sealed with EPDM lap caulk. Lap caulk also should extend a few inches down any seams that intersect with flashing tape. |
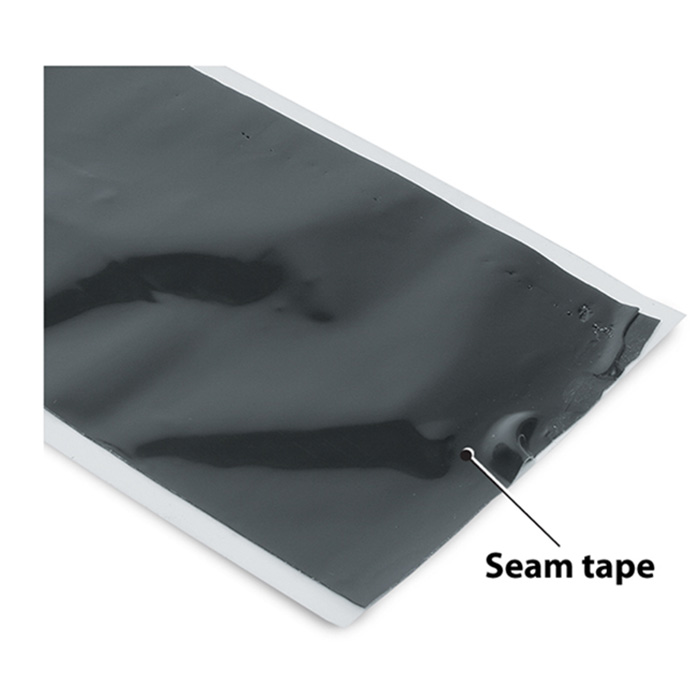
Seams need special tape
|
 |
| 1. Bridge transitions in roof slope. This transition between the house’s low- and steep-slope roofing created ice dams that forced water under the shingles and rotted a section of sheathing. The author solved the problem by covering the transition with the EPDM membrane. Replacement shingles will be installed later. |
 |
 |
| 2. Prepare seams with primer. An application of primer boosts the seam tape’s adhesion. It’s important to apply the primer along the full width of the seam and to both layers of EPDM. | 3. Lay in the tape. The seam tape is placed on the factory-primed lower layer of EPDM with the release paper facing up. Marks made earlier with a white crayon ensure that the seam tape is in the proper position (1 ⁄ 8 in. to 1 ⁄ 4 in. beyond the overlap). |
 |
 |
| 4. Roll the seam. Every inch of the seam tape is rolled vigorously with a 3-in. neoprene roller. It might be tempting to use a wider tool to save time, but bigger rollers don’t exert enough pressure and are not approved by EPDM manufacturers. | 5. Trim to fit. If less than 1 ⁄ 8 in. of seam tape is showing, the top layer of EPDM should be trimmed. Heavy-duty scissors are the best tool for cutting EPDM membrane. |
 |
 |
| 6. Remove the release film. Remove the film by slowly pulling it away from the seam at a 45° to 90° angle. Use your other hand in a sweeping motion to bring the top layer of EPDM over the seam tape. | 7. Roll again. The top layer of EPDM then is rolled into the seam tape much like the lower layer. It’s important for every bit of seam tape to be rolled thoroughly to activate the pressure-sensitive adhesive. |
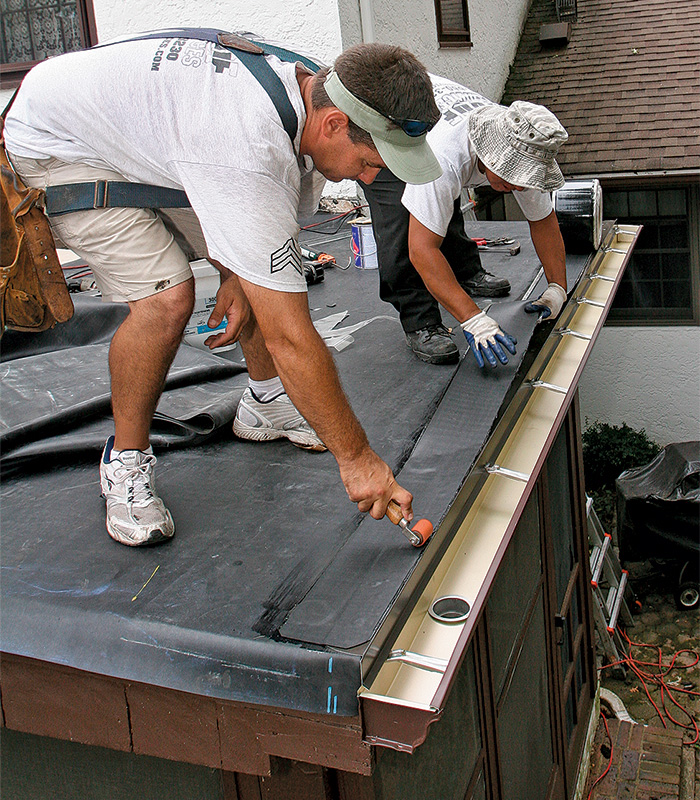
Edge metal is sealed in place
Around the outside edge of the roof, the EPDM membrane is turned down onto the fascia by a few inches and covered with drip edge on the eaves or gravel stop on the rakes. These two products are collectively described as edge metal.
 |
 |
 |
 |
 |
| 1. Over, not under. Unlike with shingles, drip edge goes over EPDM membrane. Before it’s nailed in place, the front lip is notched to fit around the gutter brackets, and the back side is given a thick bead of waterblock mastic. Corners are rounded with snips so that they don’t cut the membrane. | 2. Nail, then prime. Edge metal is set in a bead of water-block mastic. Once the edge metal is in place, fasten it with 11 ⁄ 2-in. galvanized roofing nails arranged in a staggered pattern every 6 in. on center. The edge metal and the adjoining EPDM then are wiped with membrane cleaner and primed with EPDM primer. |
 |
 |
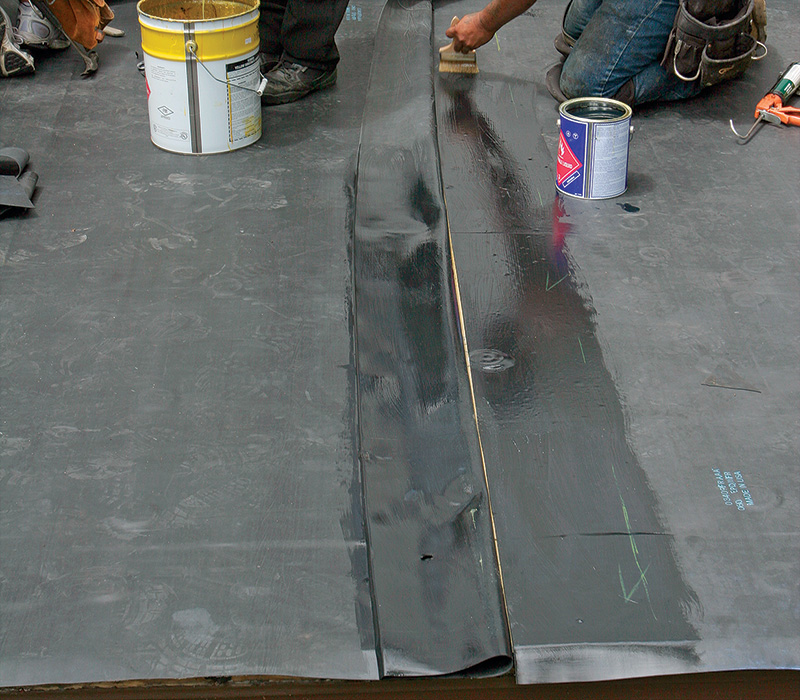
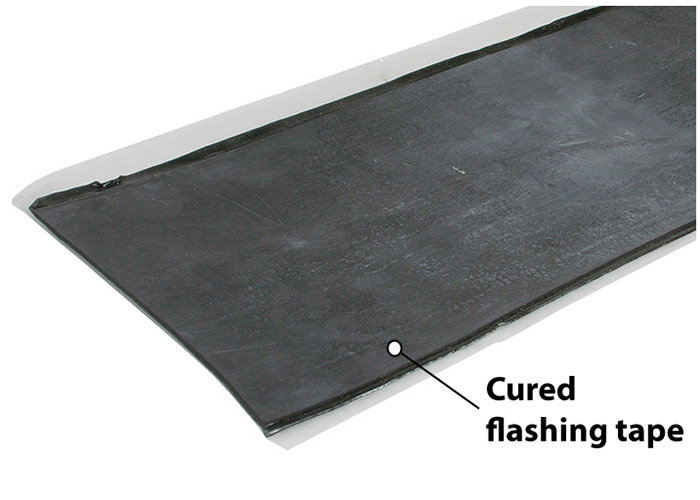
| 3. Tape seals the deal. Peel-and-stick cured flashing tape is used to seal the metal edge. The tape keeps the joint watertight despite the inevitable movement that occurs between the edge metal and the adjoining EPDM. It’s rolled in to activate the adhesive. | 4. Lap cement seals tape edges. Once the membrane and flashing installations are complete, both sides of the flashing tape and any overlapping membrane should be wiped clean with weathered membrane cleaner and sealed with EPDM lap caulk. |
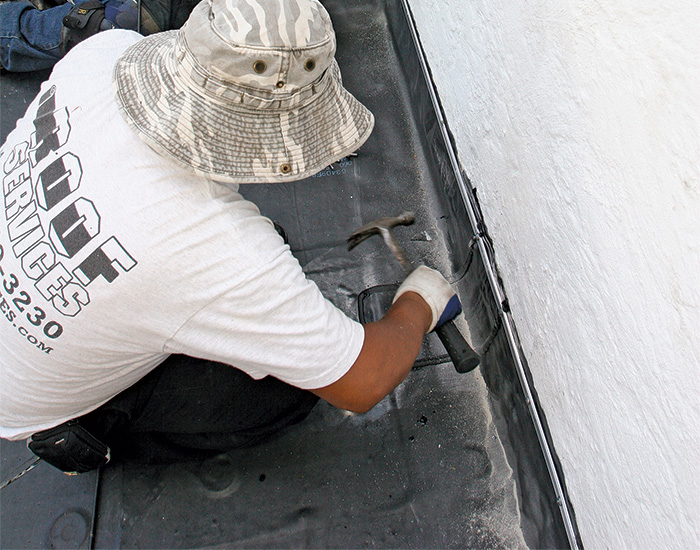
The sidewall needs counterflashing
The top edge of sidewall flashing is a critical joint that receives redundant flashings.

 |
 |
| 1. Termination bar is first. The upturned EPDM membrane is coated with bonding adhesive almost to the top. Then the uncoated area receives a continuous bead of water-block mastic. Once the two adhesives are in place, an extruded aluminum termination bar secured every 8 in. with Zamac expansion anchors (www.powers.com) holds the top edge. | 2. Caulk the termination bar. The bar is installed so that the factory-formed kick sticks out from the wall. The kick is filled, and the fastener heads are coated with high-quality urethane sealant. |
 |
 |
| 3. Counterflashing comes next. Above the termination, the crew installs a shop-formed, 0.040-in.-thick, white aluminum length of nail-on counterflashing. The counterflashing is installed similar to the termination bar. A continuous bead of water-block mastic is placed behind the flashing, and urethane sealant is spread on fasteners and along the top edge. | 4. Flashing improves durability. The flashing is attached every 12 in. with expansion anchors. The installation of the nail-on counterflashing effectively doubles the life of the wall termination to 20 years or more, and the painted aluminum looks better than the exposed termination bar.Dyami Plotke is a roofing contractor on Long Island, N.Y. |
Boots for stacks and masts
The porch roof on this house didn’t have any pipe penetrations. If it had, they would have been treated with preformed pipe seals made from molded EPDM. Available in two sizes, these boots can fit pipes from 1 ⁄ 2 in. to 6 in. dia. The adhesive-coated base is placed on the primed EPDM membrane and rolled in. The top is sealed around the pipe with water-block mastic and a hose clamp.
|
Process photos by Patrick McCombe.
Product photos by Dan Thornton.
From Fine Homebuilding #228
For more photos and details, click the View PDF button below:
Fine Homebuilding Recommended Products
Fine Homebuilding receives a commission for items purchased through links on this site, including Amazon Associates and other affiliate advertising programs.
Shingle Ripper
Peel & Stick Underlayment
Roof Jacks